
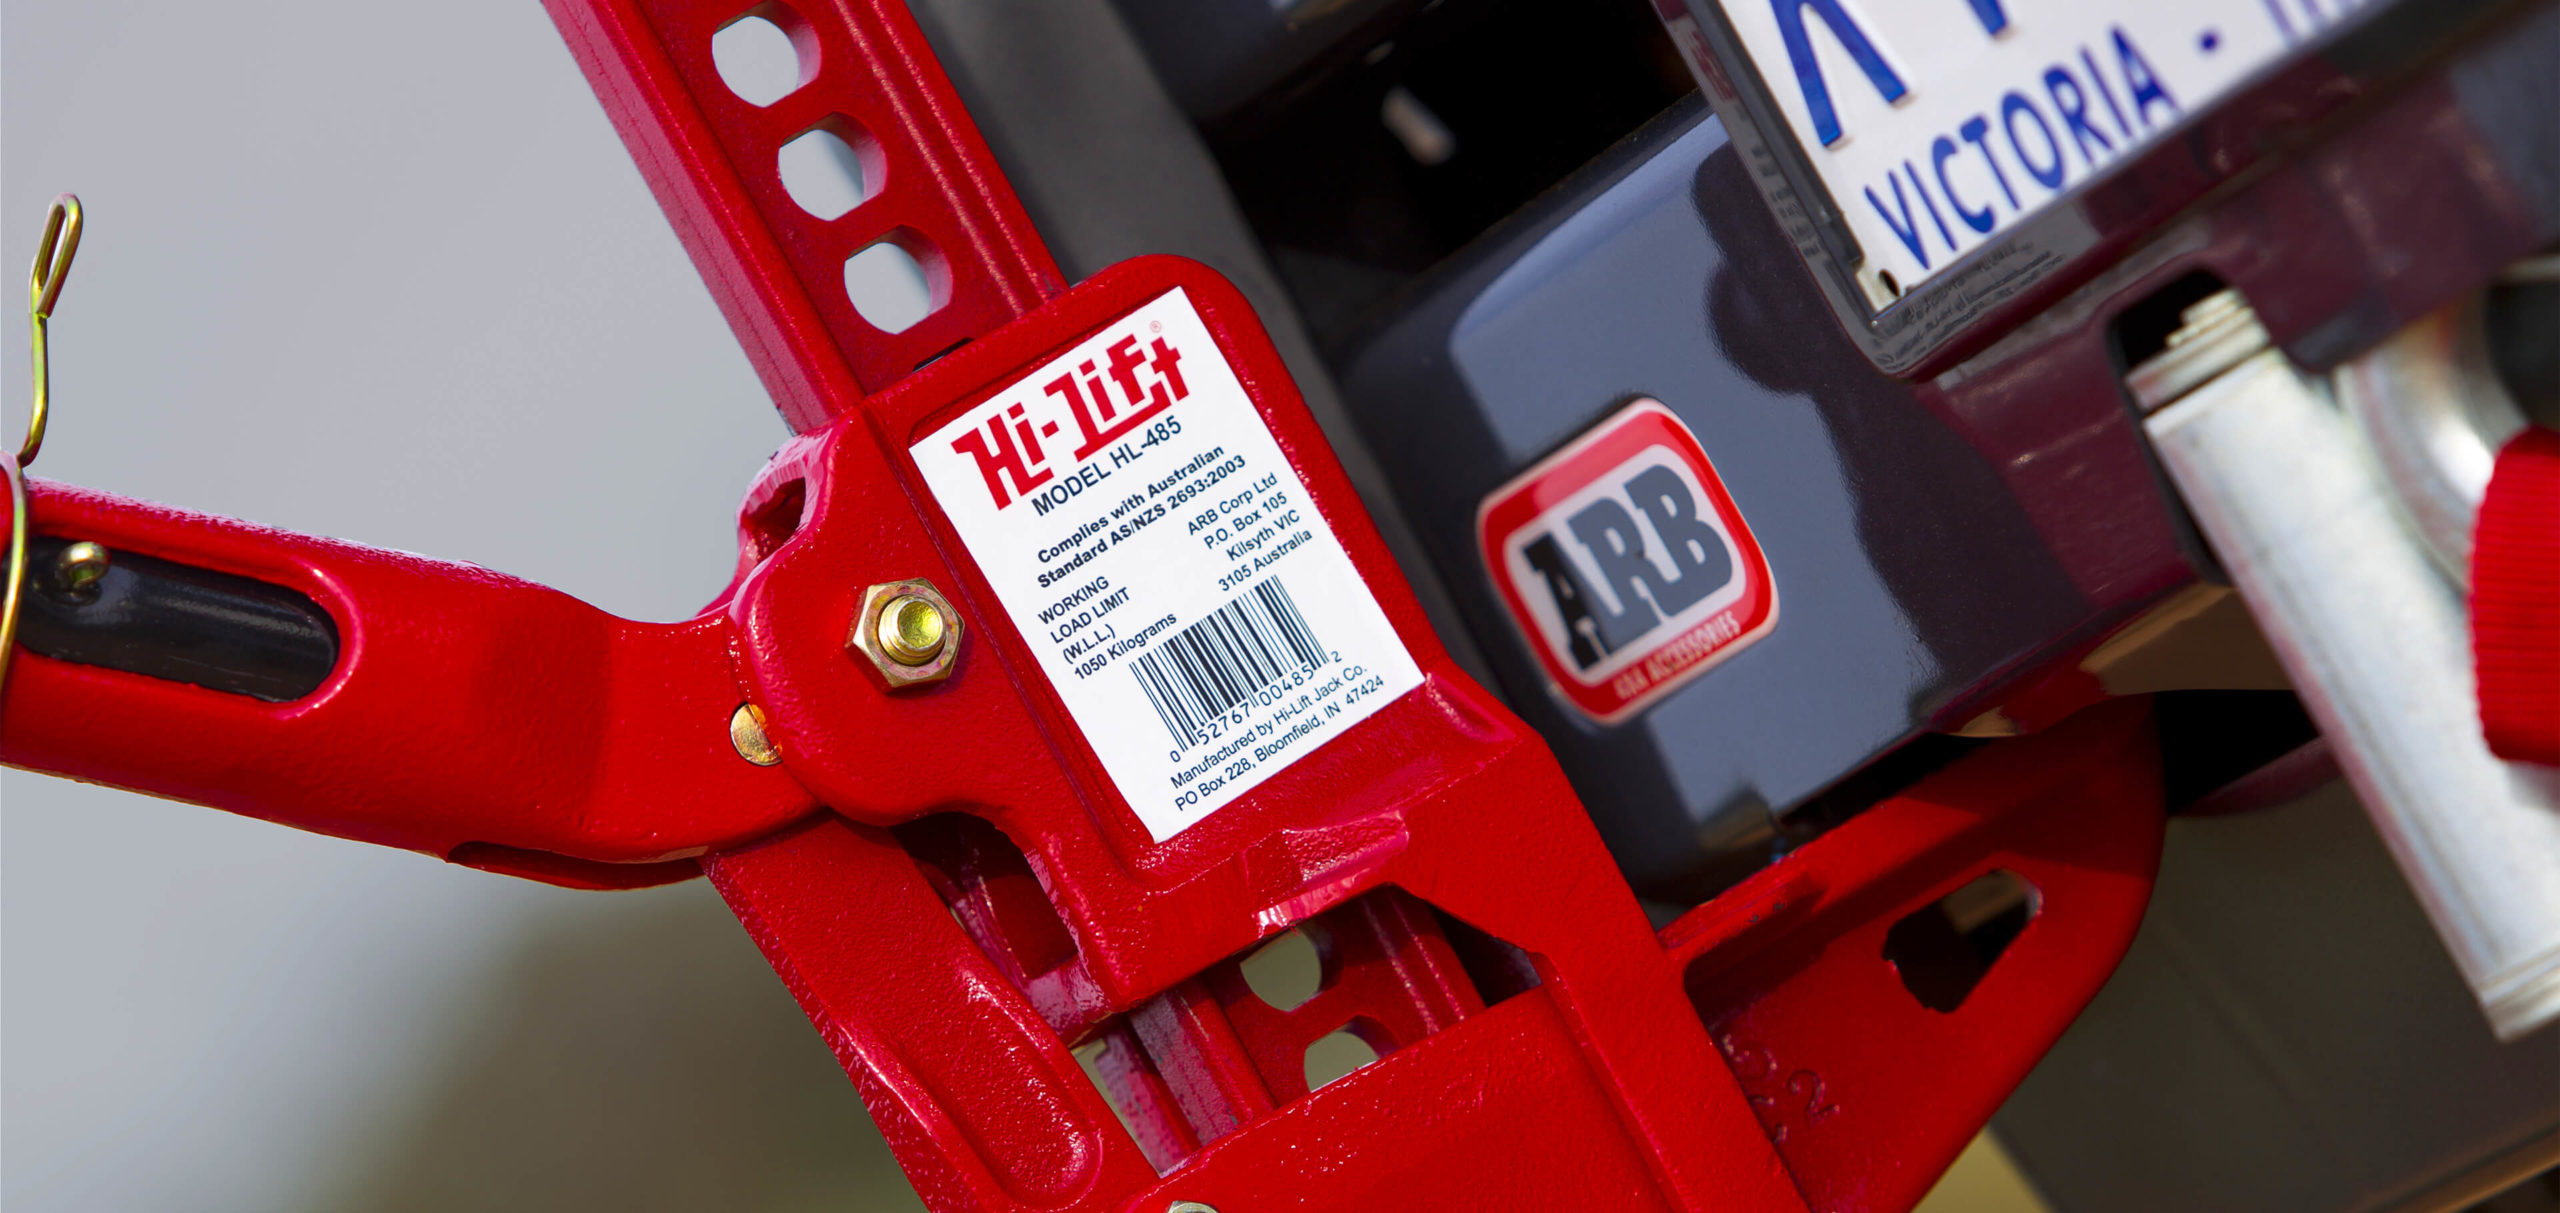
Hi-Lift Jacks are arguably one of the most useful and versatile recovery tools out there. They are virtually indestructible (if you buy the original one). However they can be extremely dangerous; so it is crucial that you learn how to safely use one before you attempt any off-road recovery (see this video)
Hi-Lift Jacks are not designed for changing tyres (because they are quite unstable). They are primarily a RECOVERY tool.
Hi-Lift points
Before you use a Hi-Lift Jack on your car, you need to know where you can safely lift the car from because otherwise you will end up denting and damaging your vehicle. Here are the common places where a Hi-Lift Jack can be connected to the vehicle:
- Tow Bar – this can work as a Hi-Lift point where there are no other metal bars.
- Bull Bars – Heavy duty metal bull bars, ideally where they have a specified Hi-Lift points (most commercial bull bars come with these), but you can also use any solid point that is flat or any tube section parallel to the ground.
- Side Steps – you can use them only if you have heavy-duty steel side steps or rock sliders connected directly to the chassis.
- Bar work/Roll cage – any heavy duty steel barwork (ideally parallel to the ground) can work as a jacking point.
- Tyres – the ideal way to do this is to buy a Hi-Lift Mate (this is a device that will hook onto your rim). You can also make your own Hi-Lift Mate using a strap that you loop into your rim twice.
- Bow Shackle – Put a bow shackle in your recovery point (on a bull bar or rear bar) and Hi-Lift through the shackle. This will only work where the recovery point is protruding from the metal bar.
Beware that Hi-Lift Jacks’ are very susceptible to slipping (especially when they have nothing restricting them from slipping).
Prepare the Vehicle for Lifting
- Place Rocks behind/beside the tyres (to stop the vehicle sliding or moving in the wrong direction(s)).
- Put the car in gear – this will prevent the wheels rolling
- Pull the handbrake – this will prevent the rear wheels rolling
The Ways to Use a Hilift Jack
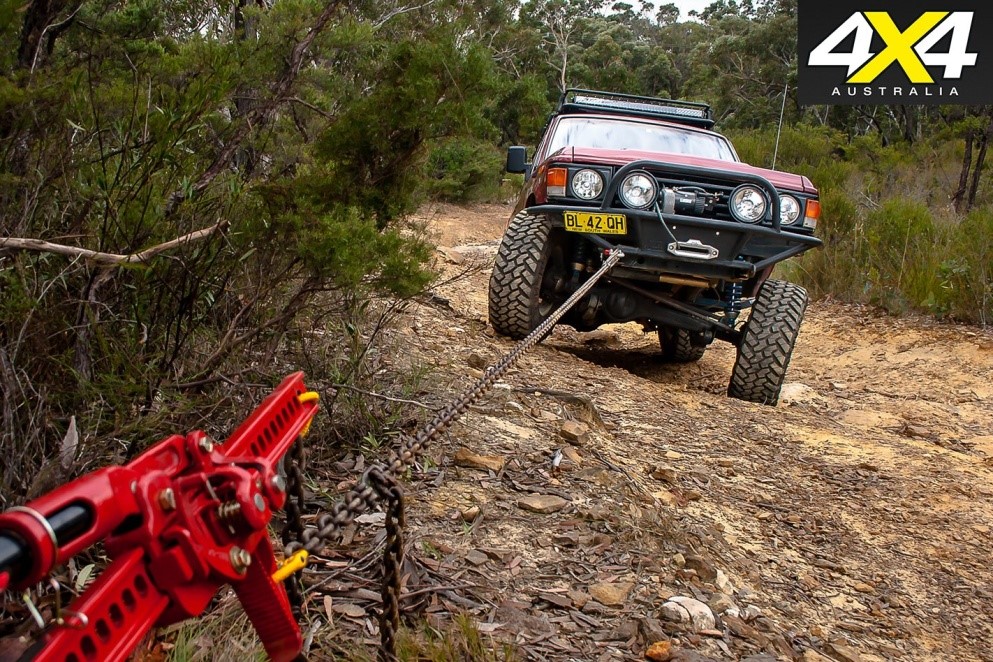
1. Hi-Lift Winching
Yes, that is correct, the Hi-Lift jack can work as a winch. How do you set it up? See photo below:
- Connect strap 1 (or a chain) to your anchor point at one end and to the top clamp of your Hi-Lift at the other end (using a bow shackle).
- Connect strap 2 (or a chain) to the stuck vehicle at one end and to the lifting part (Large runner) of the Hi-Lift at the other end.
- If the distance you are winching is longer than the length of the Hi-Lift, you will need a third strap or chain to hold the vehicle in place as you reset the jack back to the bottom position to continue winching.
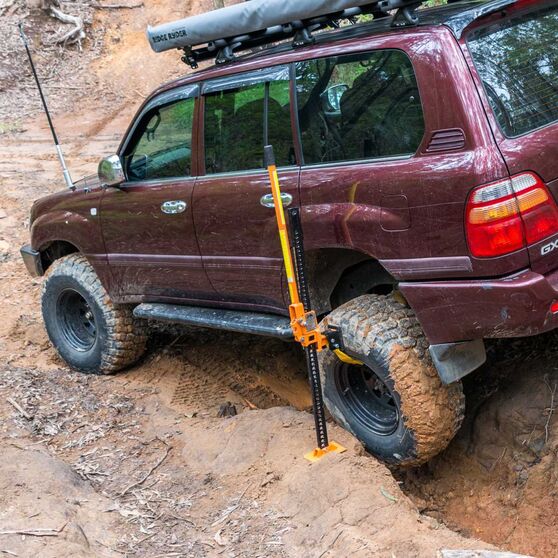
2. Jack and Pack
This is the main way most people will use the Hi-Lift Jack. It is a simple concept; lift up the car (or wheel directly) so that the tyre comes off the ground, then pack under the wheel with anything to help give you some traction: Rocks, Branches, Logs, Car Mats, Ladders/Traction Mats. Repeat the process for as many wheels as required (if possible).
You will ideally need an extended base for the jack to prevent it from sinking into the ground.
3. Hi-Lift and Push
The situation in which this is suitable:
- When you are bogged down to your axles or there is an obstacle catching/blocking you on or infront of your axle(s).
- When you have entered a rut and and want to get out (Sideways).
- When the surface slightly to the side or infront of where the wheels are will offer you some better traction.
The process (see video below):
- Jack up the vehicle from the front/rear/side (the closer you lift to the centre the more likely both wheels will lift the same amount). Lift until the wheel(s) are clear of the obstacle (ridge/rut).
- Push the vehicle sideways (while it raised), and the vehicle will pivot on the jack and land onto the higher/desired surface. The jack will fall over, (one person should attend the jack during this procedure to attempt to ensure it falls safely).
NB: This falling jack can cause damage to the body of the vehicle (so you need to be careful of this. This is why you will need to place some fabric over the top of it to stop it scratching/denting the vehicle.
If your vehicle has a mounted rear tyre and you are using the jack in the rear, you may need to remove the tyre or swing out the tyres for this operation.
This procedure may not work if you use bow shackles or the T/Square shaped holes in bull bars (you need the jack to be able to slip on the car side for this procedure to work).
The jack can only safely slip sideways or forwards, but not backwards (so keep this in mind when you set up the procedure).
Other Tips
- When using a Hi-Lift, the car may start to lean in one direction; to counter this you can start off by angling the Hi-Lift in the opposite direction (so that once the car starts to lean the jack will become straight).
- The only essential additional tool with a Hi-Lift Jack is a solid base plate that will prevent the jack sinking while using it on soft surfaces. These are available to buy however a 1” thick wooden block (1ft x 1ft) can serve the purpose.
- Store Hi-Lift Jacks’ away from dust and water (if you are keeping them outside the vehicle; make sure they are protected from the elements). The working mechanism in the Hi-Lift Jack is quite sensitive to dust, water and dirt and can be extremely dangerous if it seizes during operation.
- Spray the working mechanism of the Hi-Lift Jack; a couple of times a year (with WD40) just to ensure it stays in good working condition. (It also wouldn’t hurt to operate the Hi-Lift Jack once a year, to have the parts move around).
Sources
- 4x Overland https://4xoverland.com/4×4-recovery/
- Jeep School https://www.youtube.com/watch?v=ruRTvq4nuUo
- Dirt Lifestyle https://www.youtube.com/watch?v=5DyTxz7hiM0
- 4 Wheeling Western Australia https://www.youtube.com/watch?v=9FRMK7ZstaY&index=1316&list=LL_hOyyKRiQ4DqabEqxcn0Lw
2 thoughts on “Advanced Hi-Lift(ing)”
Some truly great content on this website , thankyou for contribution. Renata Ralf Demeyer
I enjoy the efforts you have put in this, thank you for all the great content. Ivory Giorgio Lallage
Comments are closed.